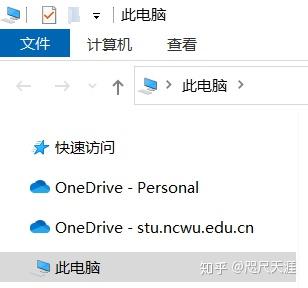
1. Unlink Your OneDrive Account from Your PC
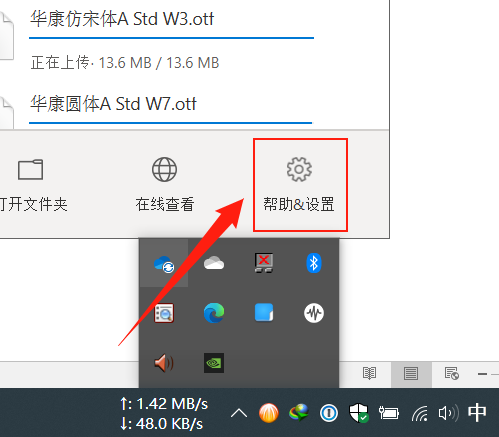
Click the OneDrive icon in the system tray (bottom-right corner of your screen). If you don’t see it, click the arrow to show hidden icons.

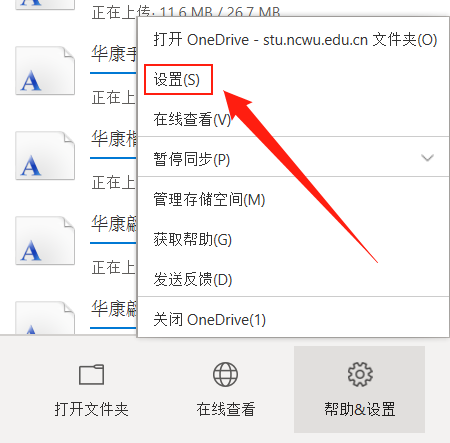
Click Help & Settings > Settings.
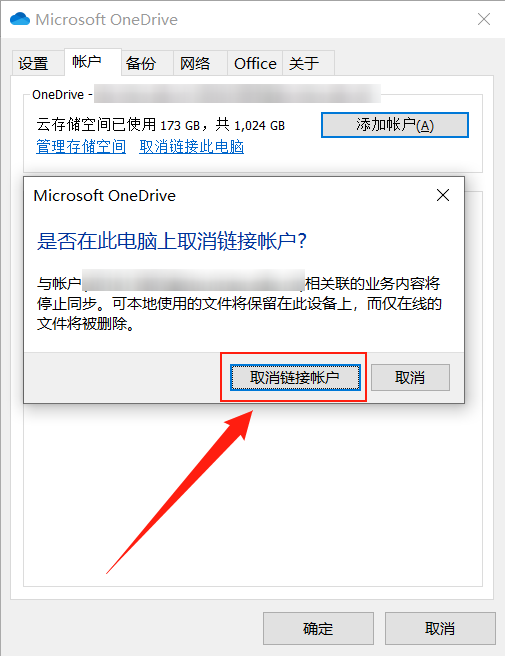
Click Unlink this PC.
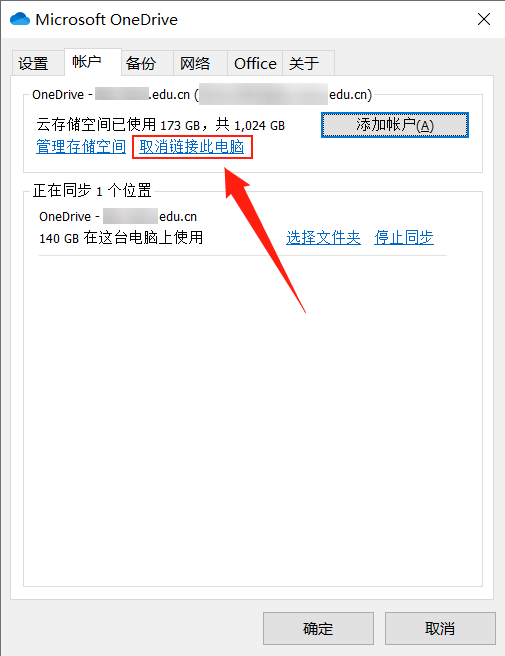
Confirm the unlinking when prompted.
2. Edit the Registry to Remove the OneDrive Folder from the Sidebar
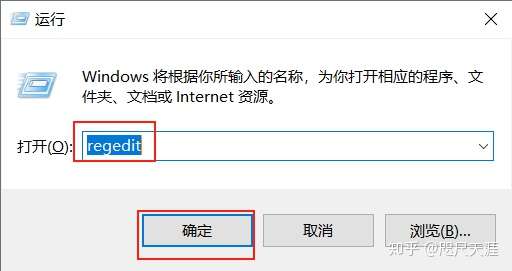
Press Windows + R to open the Run dialog. Type regedit and press Enter to open the Registry Editor.
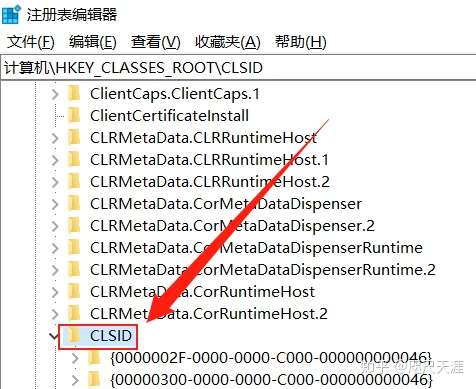
In the Registry Editor, navigate to Computer\HKEY_CLASSES_ROOT\CLSID. You can copy and paste this path into the address bar at the top.
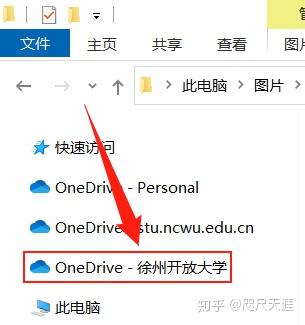
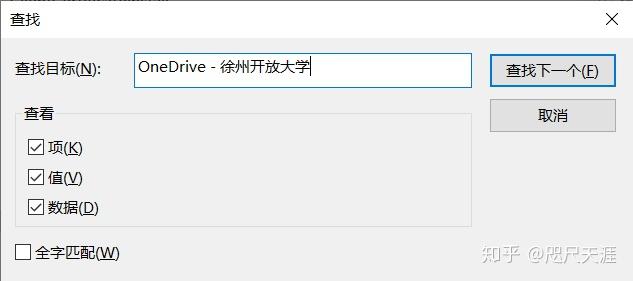
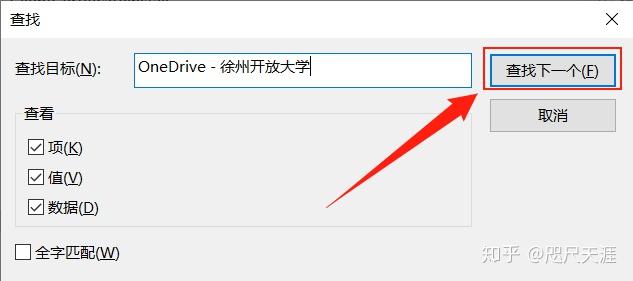
Press Ctrl + F to open the Find dialog. Type the exact name of the OneDrive folder you want to remove (e.g., OneDrive - YourOrganization). Make sure to include spaces correctly.
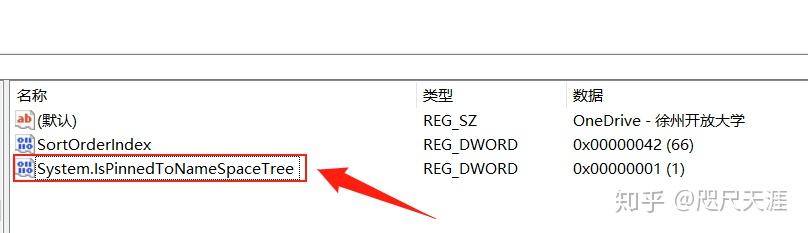
Once found, look for the third value in that registry key (usually named System.IsPinnedToNameSpaceTree or similar). Double-click it and change its value from 1 to 0.
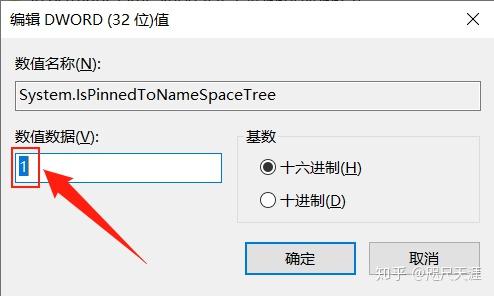
0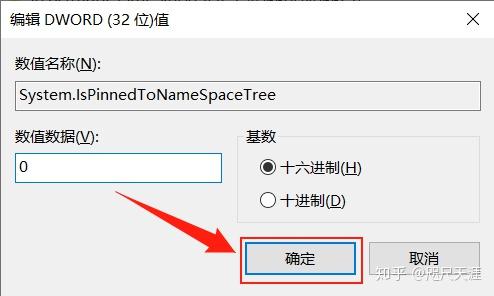
3. Restart Your Computer
Close File Explorer and restart your PC. When you open File Explorer again, the OneDrive folder will no longer appear in the left sidebar.